Automatic cat feeders are a convenient solution for pet parents who want to ensure their feline friends are fed on time, every time—even when they’re not home. Whether you’re a busy professional, a frequent traveler, or simply looking for more control over your cat’s meal schedule, installing an automatic cat feeder can make a world of difference.
In this guide, we’ll walk you through how to install an automatic cat feeder the right way, ensuring it works efficiently and keeps your cat happy and healthy.
Step 1: Choose the Right Automatic Cat Feeder
Before installation, make sure you’ve selected a feeder that fits your needs. Consider the following features:
- Portion control
- Meal scheduling
- Food type compatibility (dry or wet)
- Power source (battery or plug-in)
- Wi-Fi/App connectivity (optional for tech-savvy pet parents)
Once you’ve chosen the perfect feeder, you’re ready to begin the setup.
Step 2: Unbox and Check the Components
Carefully unbox your automatic cat feeder and verify that all parts are included. Most feeders come with:
- The main food container
- A food tray or bowl
- Power adapter or battery compartment
- User manual
- Optional accessories (ice packs, smartphone app, camera)
Pro Tip: Read the manual thoroughly before starting the installation. It often includes brand-specific tips for optimal use.
Step 3: Select the Right Location
Place the feeder in a quiet, flat, and easily accessible area for your cat. Avoid locations near water sources or in direct sunlight.
- Indoor Use Only: Most feeders are not designed for outdoor environments.
- Stable Surface: Prevent tipping by placing it on a flat, even surface.
- Away from Pet Traffic: Choose a spot where your cat feels safe eating.
Step 4: Install the Power Source
Your feeder may support either a plug-in power adapter, batteries, or both. For feeders with dual power options, use both to avoid feeding interruptions during power outages.
- Insert batteries (if applicable), ensuring the correct polarity.
- Plug in the adapter and check if the device powers on.
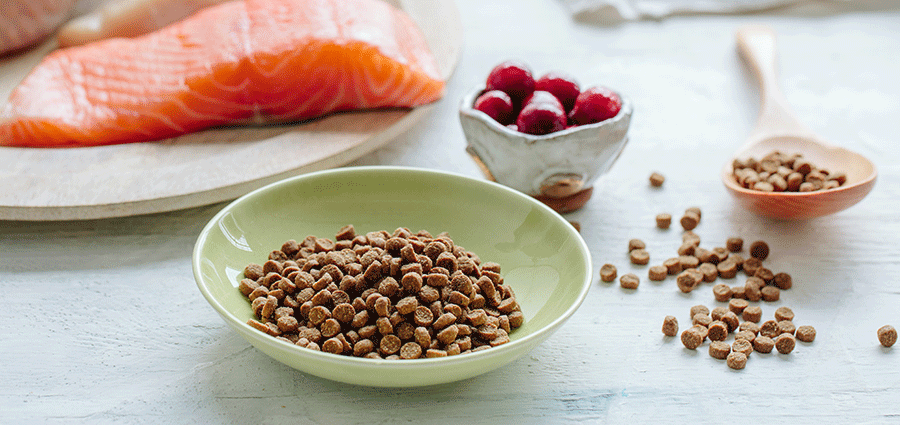
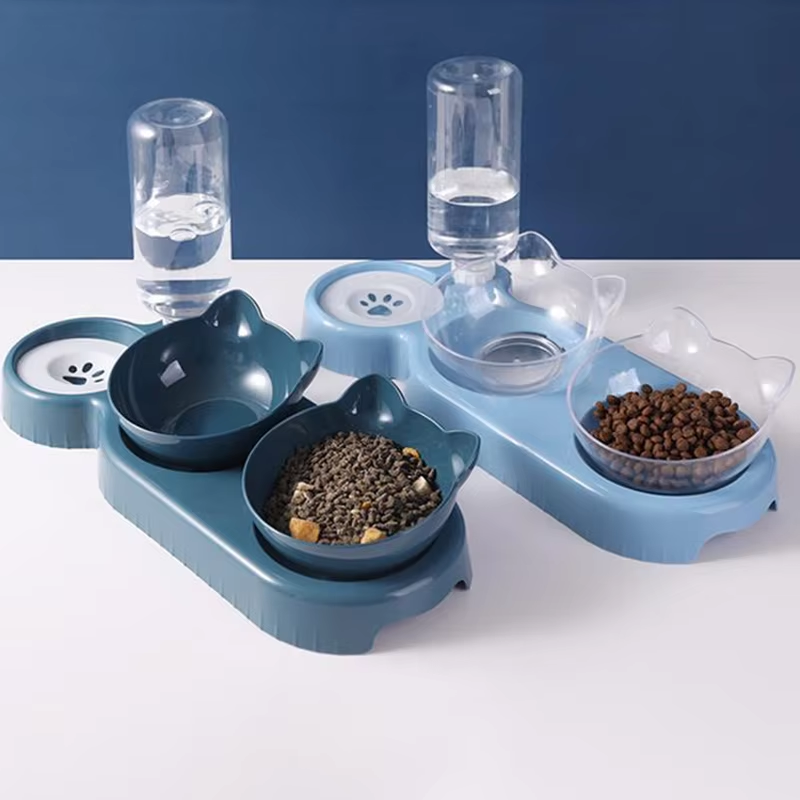
Step 5: Fill with Cat Food
Clean the food storage container before the first use. Dry food works best for most automatic feeders, especially those with timers.
- Do not overfill—stay within the recommended capacity.
- Make sure the lid is sealed to keep food fresh.
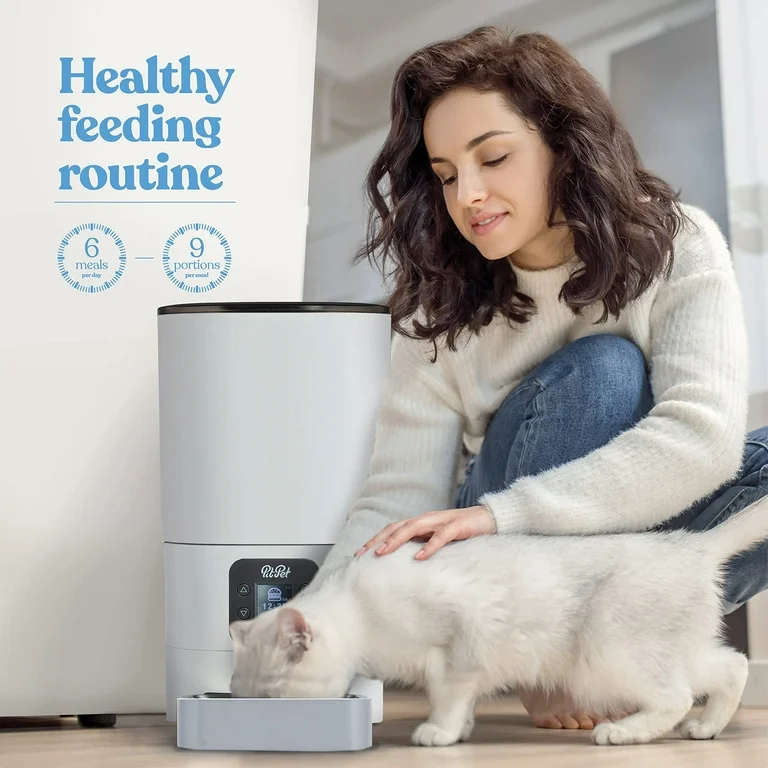
Step 6: Program the Feeder
Use the control panel or smartphone app (if Wi-Fi-enabled) to schedule feeding times and portion sizes.
- Set the correct time and date
- Choose how many meals per day (typically 1–6)
- Adjust portion size based on your cat’s dietary needs
Voice Record Feature? Record a short voice message to call your cat at meal times (if your model supports it).
Step 7: Test the Feeder
Before relying on it, do a test run:
- Trigger a manual feeding
- Ensure the correct amount of food is dispensed
- Watch your cat interact with it to ensure comfort and curiosity
Step 8: Monitor and Clean Regularly
Keep an eye on food levels and clean the feeder as recommended—usually once a week.
- Use mild soap and warm water
- Avoid harsh chemicals
- Dry thoroughly before reassembling
Final Thoughts
Installing an automatic cat feeder is a simple yet impactful way to improve your pet’s mealtime routine. With the right setup, you can enjoy peace of mind knowing your cat is always fed on schedule—even when life gets busy.
Remember, while automatic feeders add convenience, they’re not a substitute for regular check-ins, playtime, and vet care. Your cat still needs your love and attention.